Ubuntu 12.04 LTS installation
The installation of UBUNTU contains the following steps:
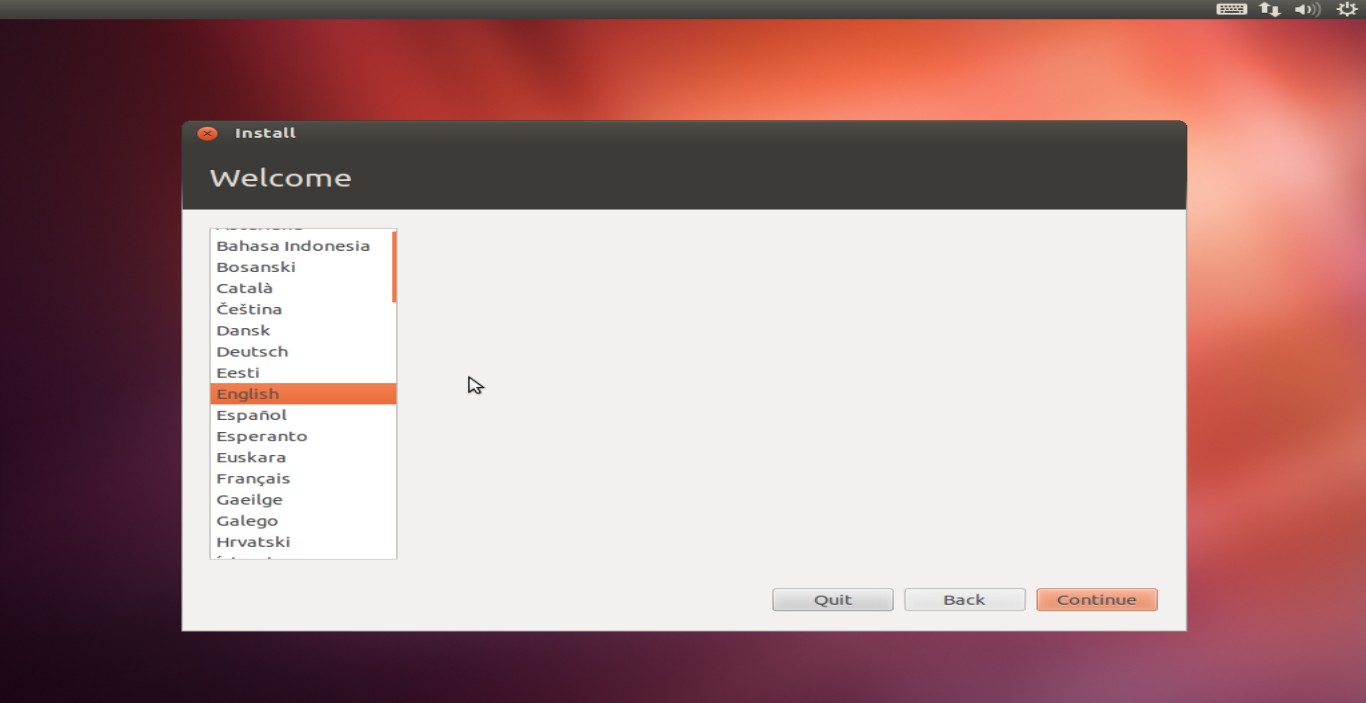
Step-1: (Selection Of the Language)

Step-2: (Selecting the Option)
Step-2: (Selecting the Option)
After the selection of the language installation process is
started. Here you must select the option which you need “Trying ubuntu without installation” by selecting this
option you can try the Ubuntu without installing it. It doesn’t disturb any of your file system. If you are going
to install the Ubuntu on your lap or system then choose the second option. The option
“Check disc for defects” checks the Installation
media for any errors. The ” Test Memory “
option tests for the harddisk for memory availability. The “Boot form First hard disk” option boots
from your hard disk.

Since our intent is the installation of the Ubuntu,lets us select the second option- "Install Ubuntu"
After this the following appers


Step-3:(selection of the Language)
In this step we must select the language in which the Ubuntu must be installed
Step-4: (verifying the requirements)
In this the installation media verify 's the available memory
,weather the power cable is plugged in or not & is internet
connection is available,We also have options of selecting the "Download
updates while installing" which shall download the updates & other
option of installing the third party software,based upon your interest
select the option


Step-5: (selecting the Keyboard layout)
In this step you must select the keyboard layout,based upon your language select your keyboard layout.

Step-6 :(Selecting the installation type)
In this step we must select the installation type,here we have two modes for installation the first one is Erasing the entire disk & installing the Ubuntu,The other option provides us the flexibility of creating the partitions

Step-6.1 (Creating partitions) If we select the second option
This option lets u to create the select the partitions,in the figure we can observer the add ,change delete & revert.These options allow u in performing the partitions.using the add option we can add new partition to our file system.By change option we can change the options which we have specified for a partition.The Delete option deletes the existing partition.By revert option we can undo the changes.

Step-6.2 (Erase the entire hard disk)
Using this option we can install the ubuntu without specifying the partitions.it uses the entire hard disk.

Step-7 (Where are u?)
Here we must select our location.

Step-8 (Who are you?)
In this location we must give our details & enter the user password for the Ubuntu.


After the installation is completed a dialog box pops up requesting for the restart for the system.


Now enter the password & have fun with Ubuntu.


Hope you have got the required information regarding the installation of ubuntu ,If u have any doubt's regarding the installation ,please leave comments so that i can clarify them,as quick as possible.
